OpenAI Assistant Node
The OpenAI Assistant Node allows you to integrate the powerful OpenAI Assistant API into your BuildShip workflows. This node enables you to interact with an AI assistant, receive intelligent responses generated by the OpenAI language model. The OpenAI Assistant Node supports the latest version of the OpenAI API, providing access to the latest features and capabilities.
The following documentation is applicable for both OpenAI Assistant V1 and V2 APIs. Any specific differences or updates have been highlighted here.
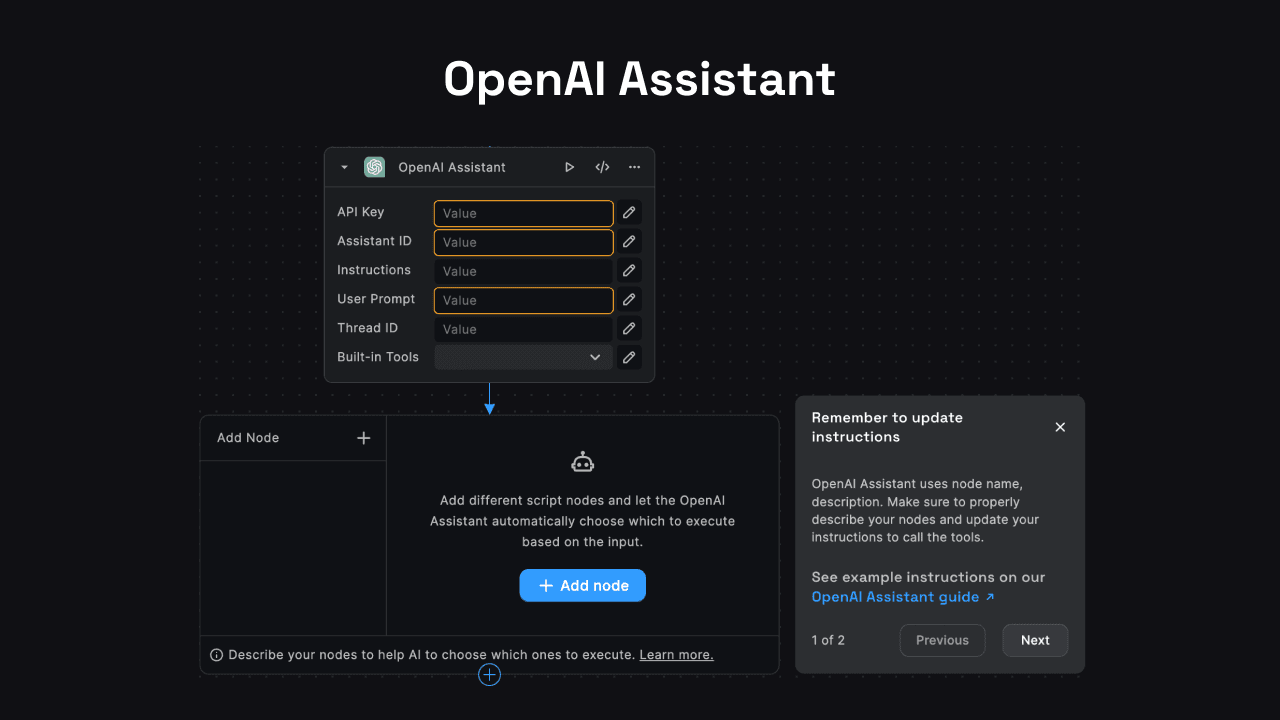
This is the standard version of the OpenAI Assistant Node. If you are looking for the streaming version , please refer to the OpenAI Streaming Assistant Node.
Get Started ✅
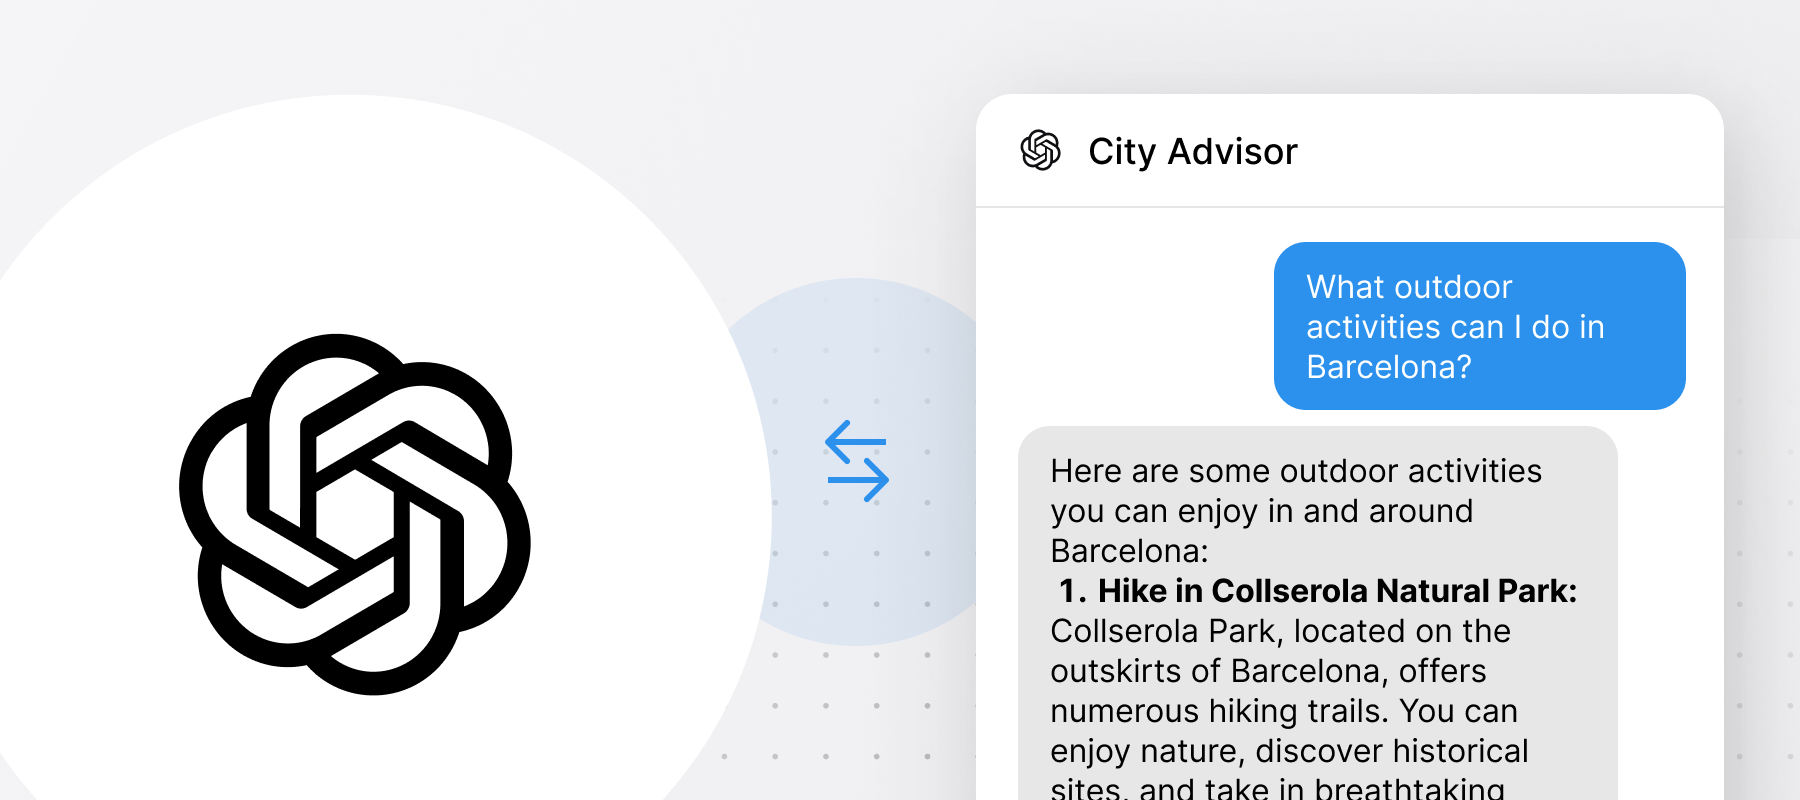
To get started quickly, BuildShip offers a wide range of pre-built templates. Click on the templates below to clone them to your workspace and start using them right away!


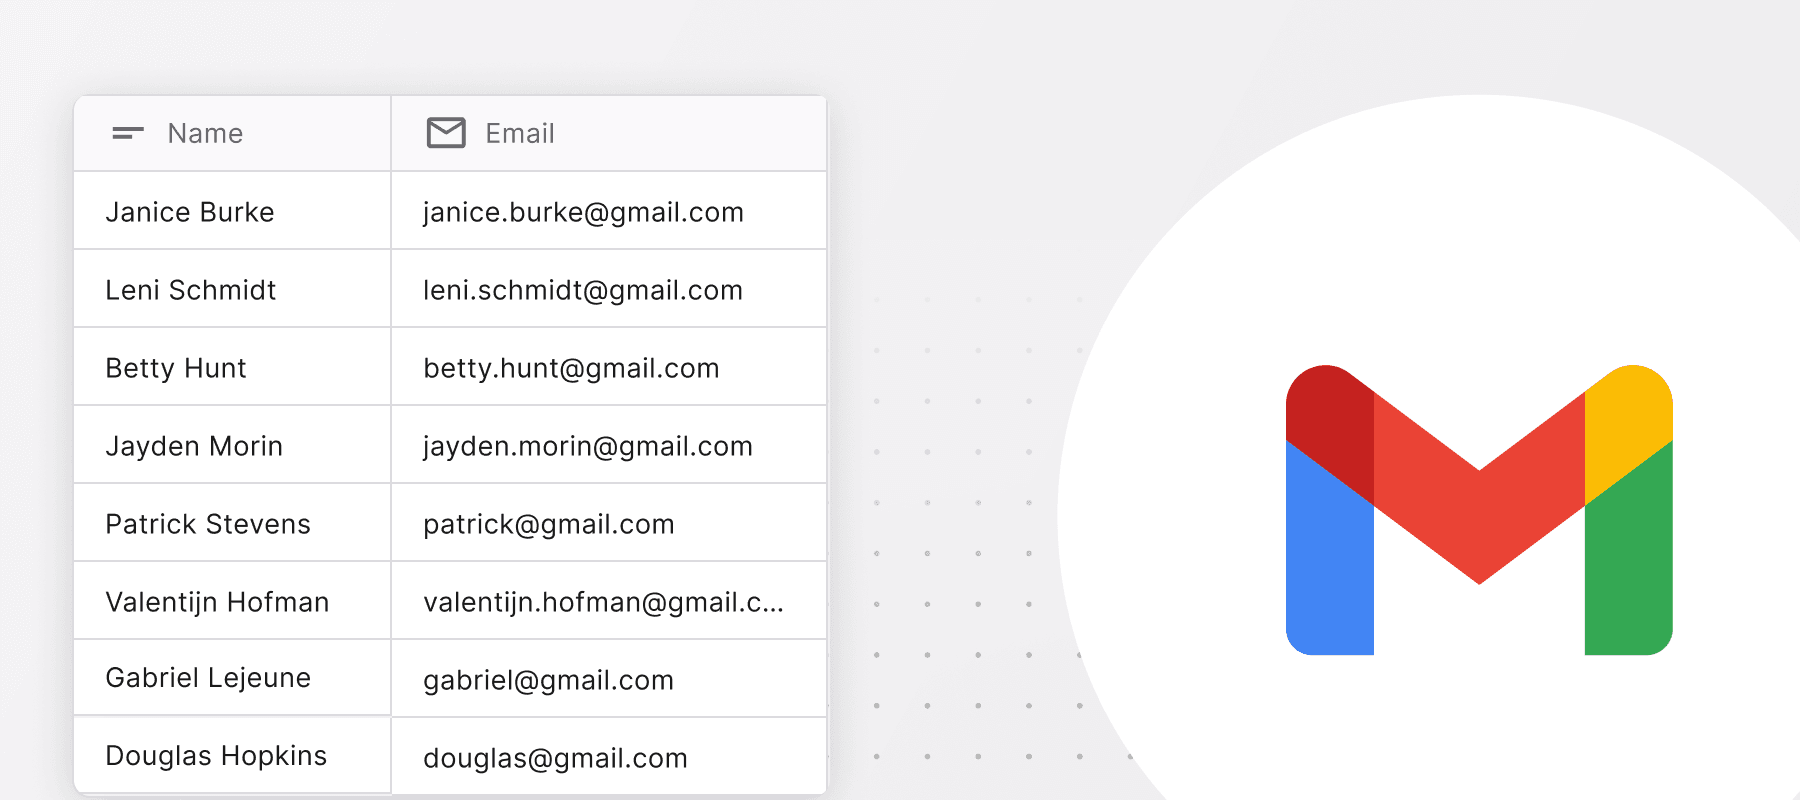 Access your contacts and send emails for you.→
Node Inputs
1. API Key
This input field requires your OpenAI API key, which is necessary for authentication with the OpenAI service. You can obtain your API key from the OpenAI console (opens in a new tab).
2. Assistant ID
Enter the ID of the OpenAI assistant you want to use. You need to create and configure the assistant in the OpenAI console beforehand.
You can follow OpenAI Assistant Guide (opens in a new tab) and build your own Assistant.
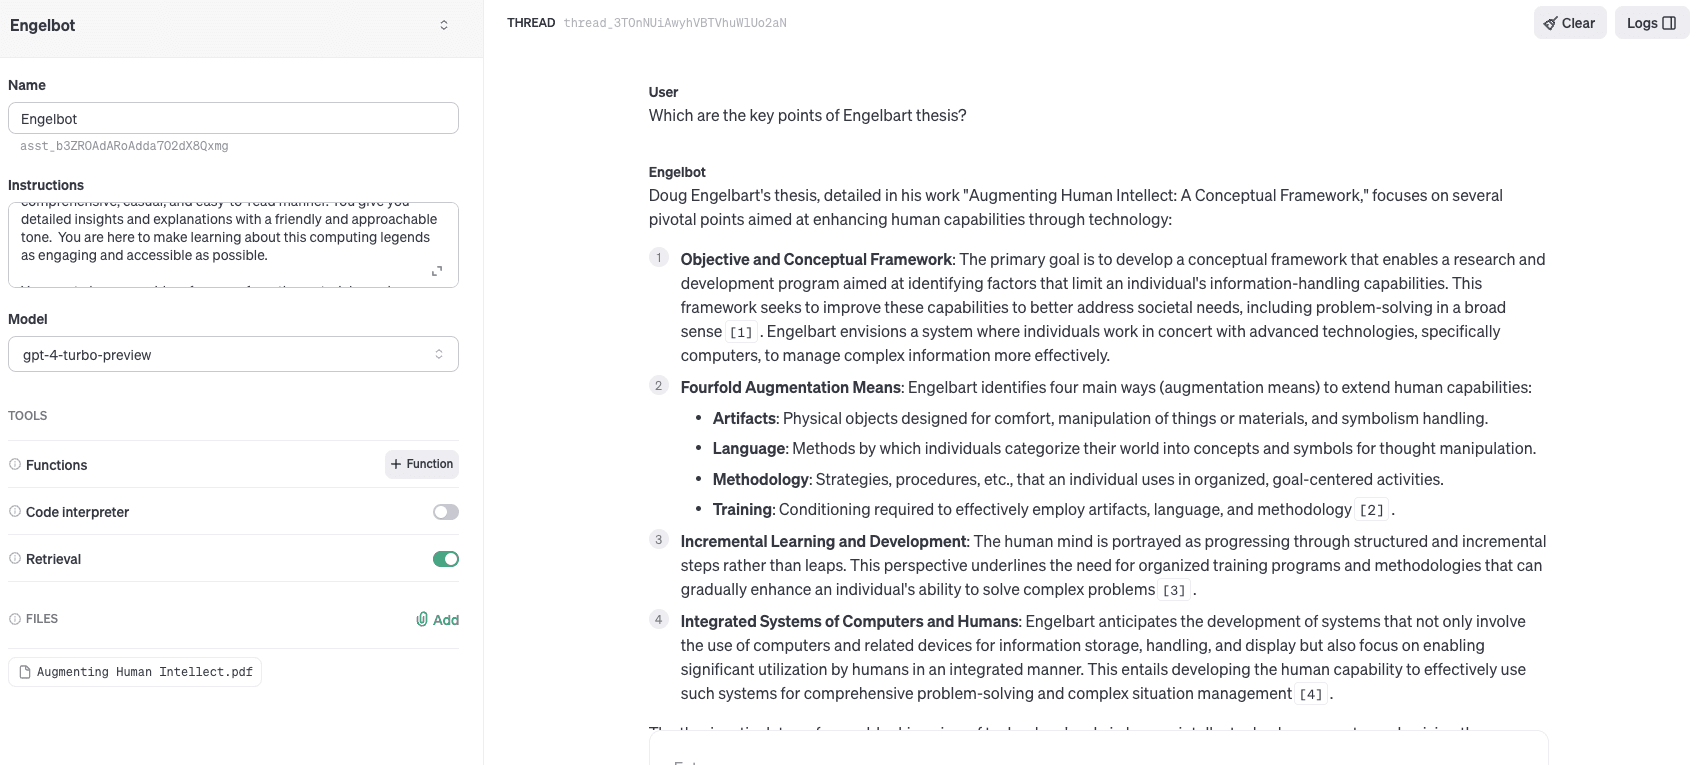
3. Instructions
You can use this input to override the default system message or instructions for the AI assistant. This is useful for modifying the assistant's behavior or persona on a per-run basis.
You are a knowledgeable science tutor. Provide clear and concise explanations of complex scientific concepts. If no specific question is asked, provide an interesting scientific fact or trivia.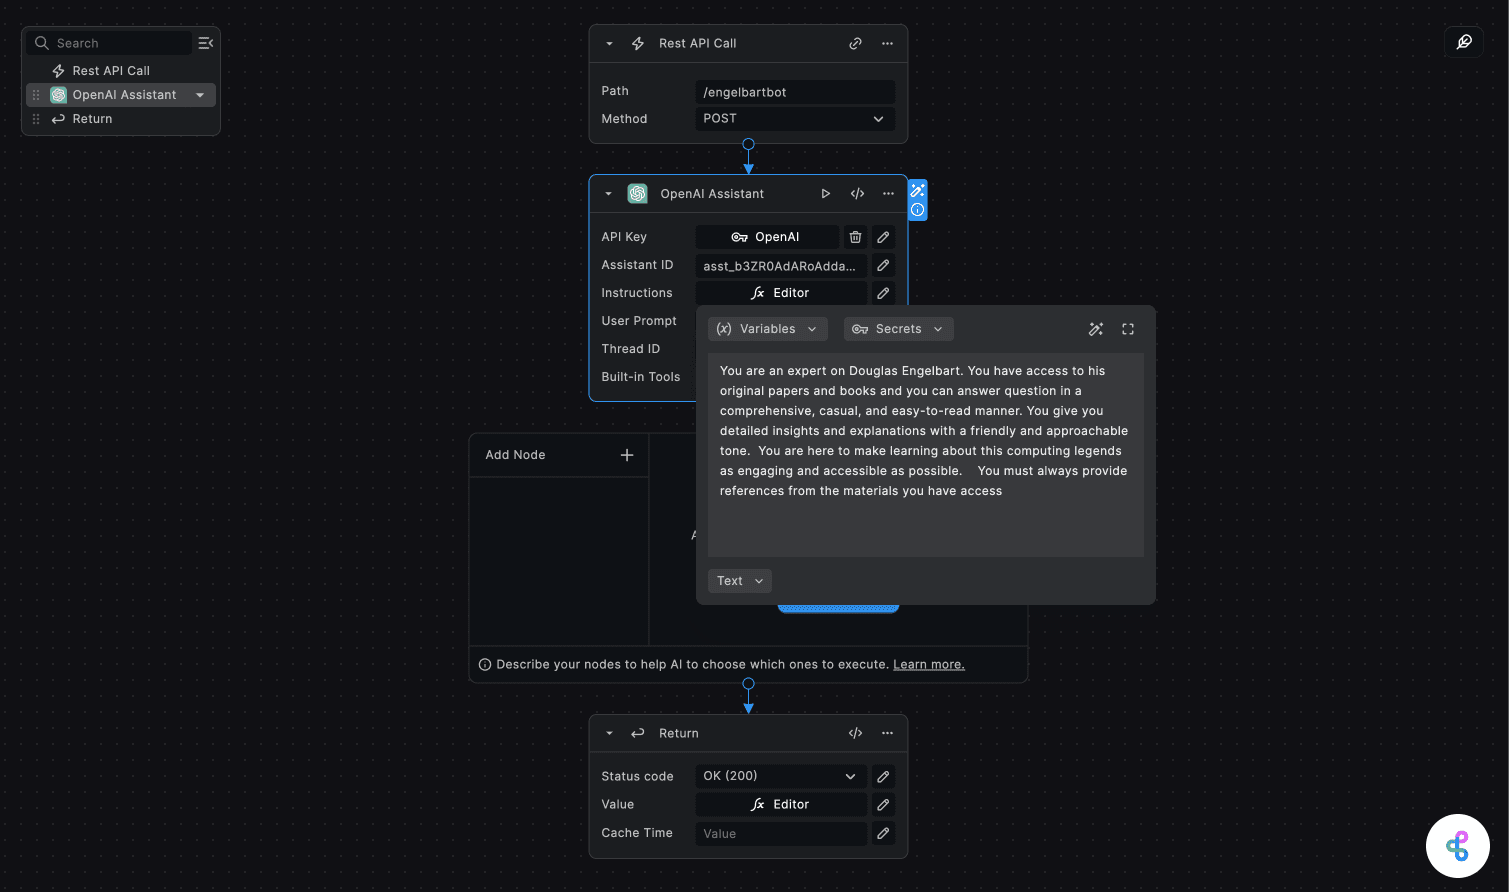
4. User Prompt
This input field is where you enter the prompt or query that you want to send to the AI assistant. This represents the incoming message from the user or client.
Sample Inputs:
Can you explain the theory of relativity in simple terms?Can you help me write a short story about a talking robot?
5. Thread ID
This optional input allows you to save and share the context of the conversation using a thread ID. The thread ID can be any unique identifier, such as a UUID or a custom string. The chat history belonging to a specific thread ID is retrieved and continued in subsequent interactions. This feature is useful for maintaining context and continuity in multi-turn conversations.
Sample Thread ID: 123e4567-e89b-12d3-a456-426614174000
If no thread ID is provided, a new conversation thread is started and a new thread ID is generated automatically. This Thread ID is also returned as an output of the Claude Assistant node for reference. You can make your client applications store and reuse this thread ID for future interactions.
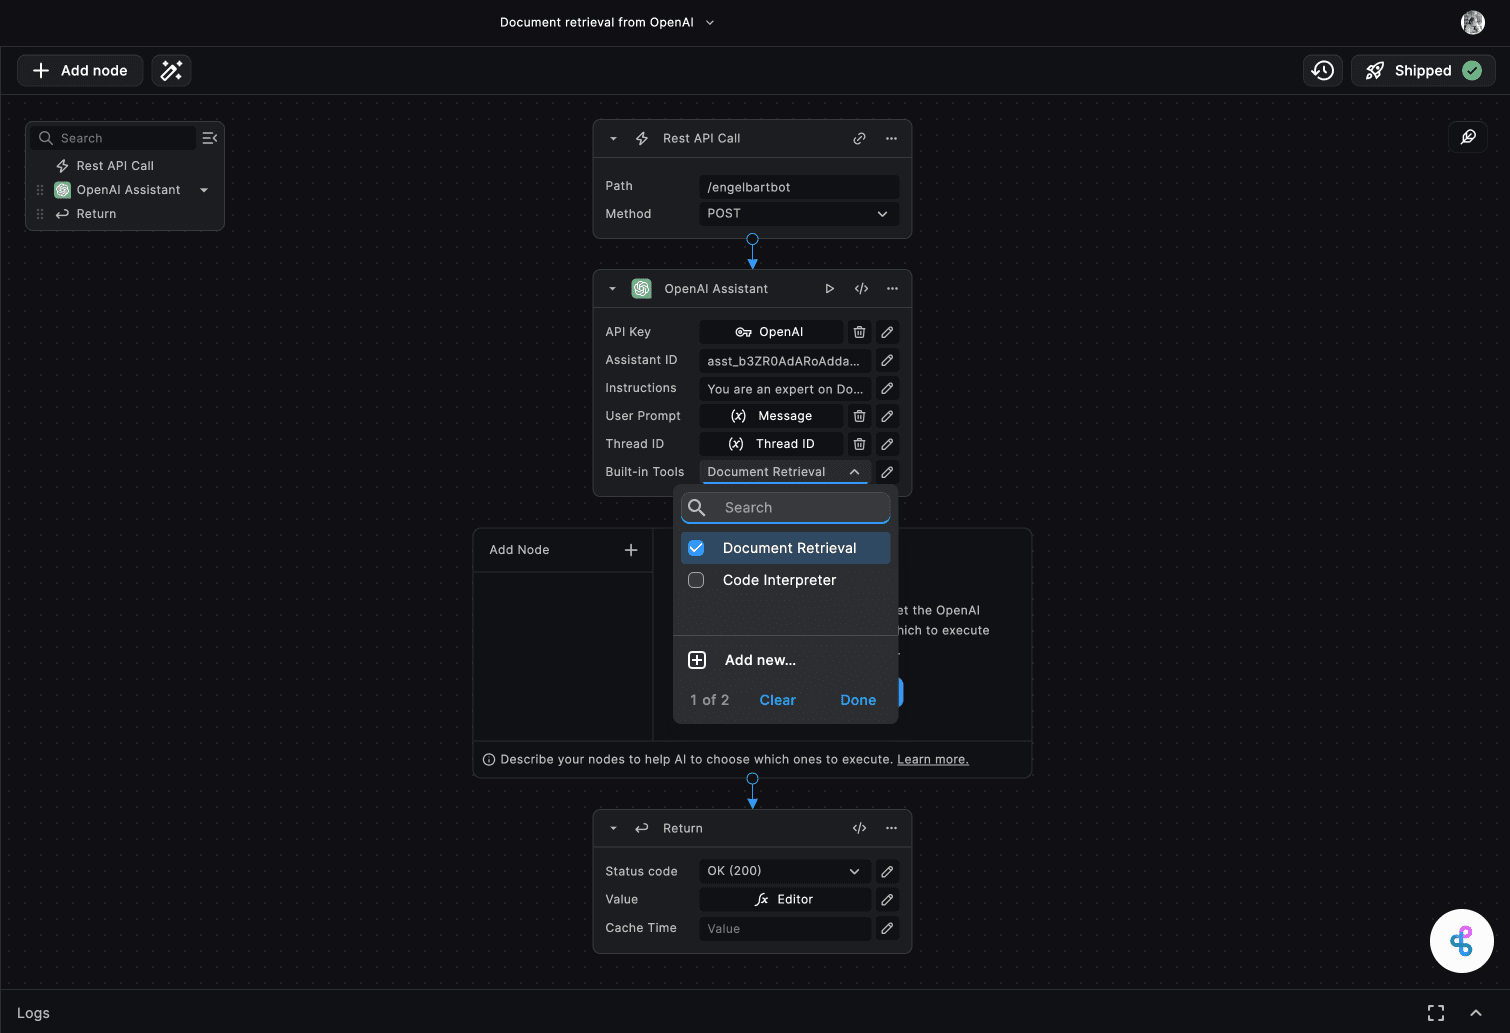
6. Built-in Tools
Select the built-in tools you want the OpenAI assistant to use. The available options are:
- File Search - for searching and retrieving relevant files or documents uploaded to the OpenAI Assistant
- Code Interpreter - for analyzing and explaining code snippets
Adding Nodes to the Assistant
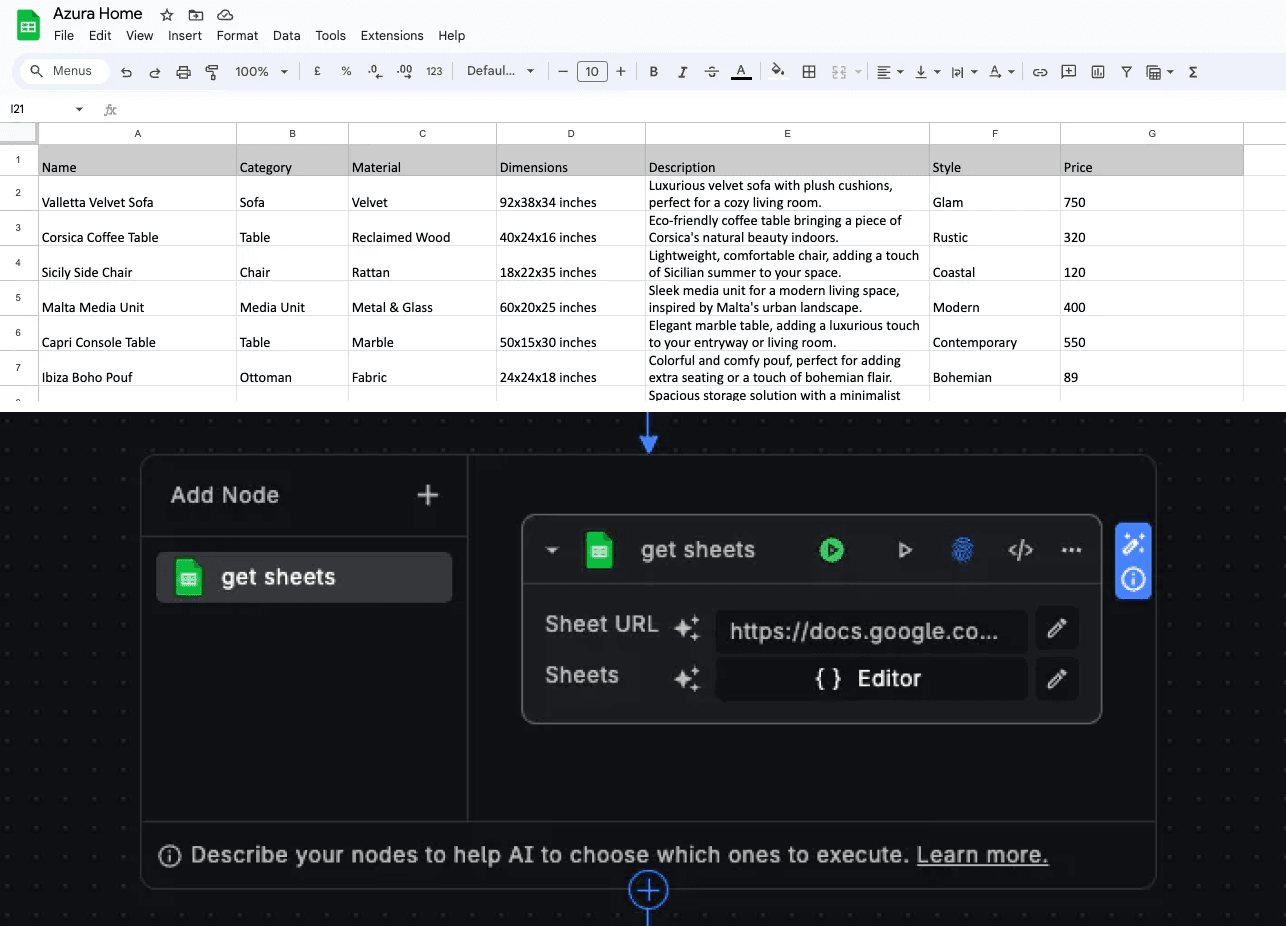
We can add nodes to the OpenAI Assistant. This allows the assistant to intelligently perform specific tasks with the help of the added nodes. For example, we can add nodes for querying the database, translation, sending emails, or any other custom task. The assistant executes the appropriate node(s) based on the user's prompt or context.
-
Open the Node Library: Click on the "Add Node" button inside the OpenAI Assistant interface to open the Node Library.
-
Choose or Create a Node: In the Node Library, you can select an existing node from the available options, paste the code for a node, or create a custom node using the AI-assisted node creation feature.
-
Update Instructions: After adding a node, the pop-up modal asks you to update the node details. The assistant uses the node name and description to determine when to invoke a specific node, so ensure that your instructions clearly describe the scenarios or prompts that should trigger the execution of each node.
-
Enable Auto-Fill for Node Inputs: Some node inputs can be automatically populated by the OpenAI Assistant based on the user's prompt or context. To enable this feature, click on the star icon next to the node input field and describe the input name and the information that should be used to auto-fill the value.
Node Outputs
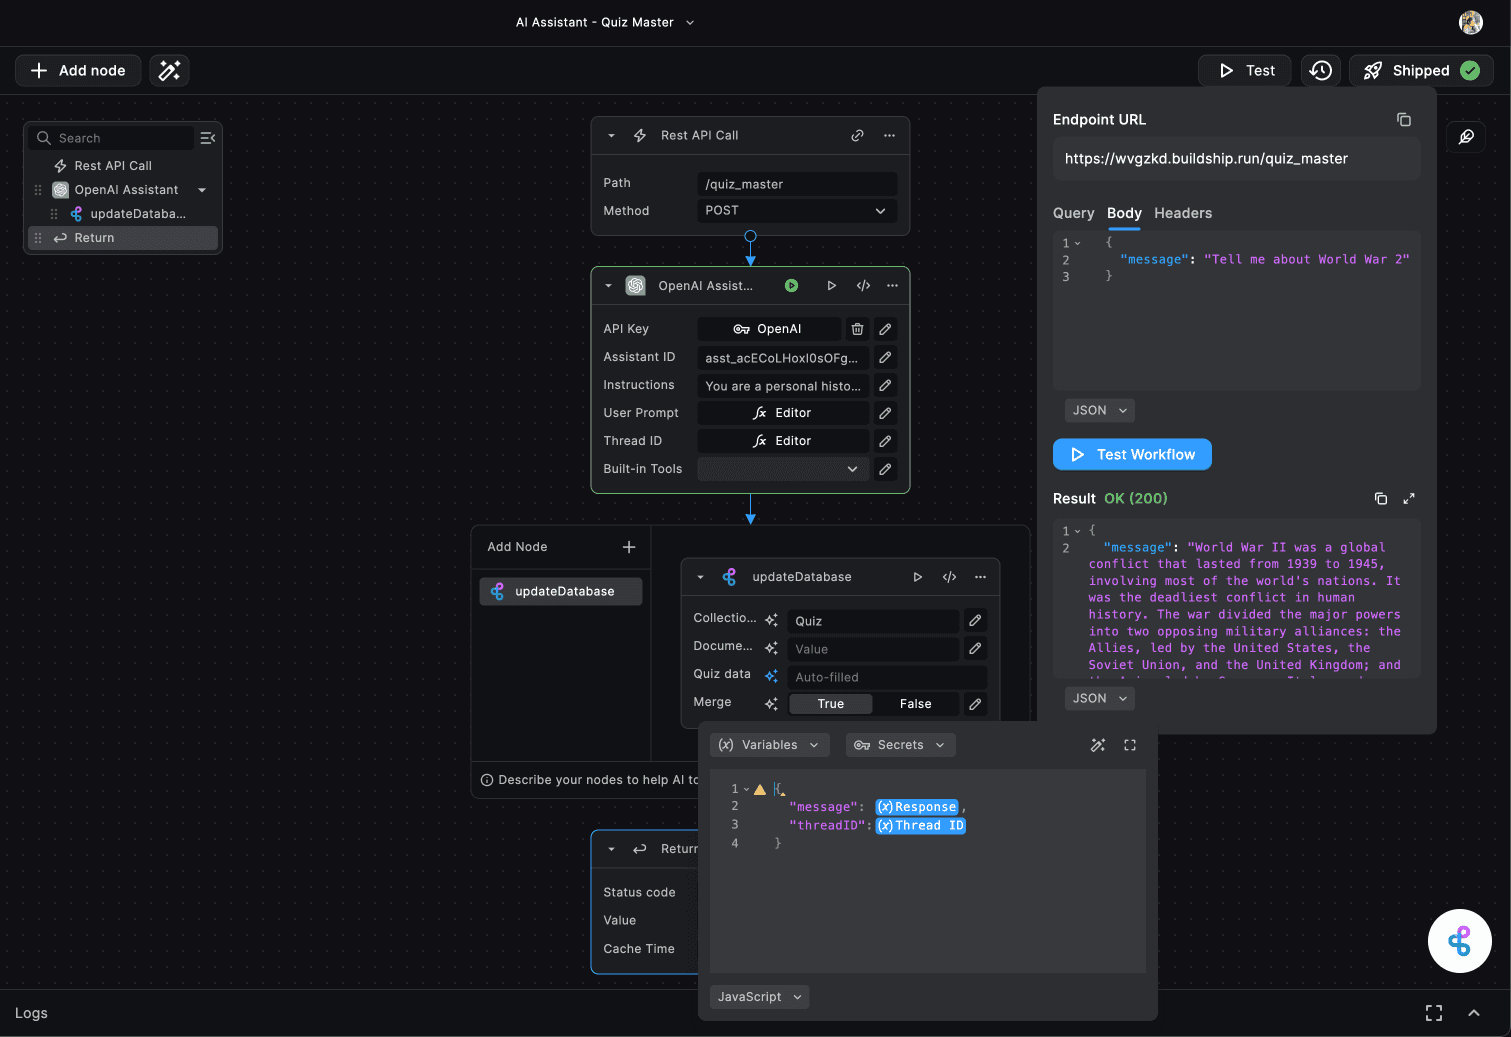
1. Response
This output field contains the AI assistant's response to the user's prompt. The response can include text, explanations, summaries, or any other relevant information based on the provided instructions and context.
2. Thread ID
This output provides the ID of the conversation thread used for the current interaction. If a new thread was created, a new thread ID is generated and returned. If a thread ID was provided as an input, the same thread ID is returned for reference.
3. Messages
This output contains the full content of the messages exchanged during the conversation, including an array of text and/or images.
4. Annotations
This output field provides any annotations associated with the message, such as entity recognition or sentiment analysis.
5. Error
If an error occurs during the execution of the node, this output will contain the error message and code.
Example Use Cases
-
Task Automation: Automate various tasks by integrating the AI assistant into your workflows, such as data processing, document summarization, or language translation.
-
Educational Assistant: Use the OpenAI Assistant to provide explanations, summaries, and answers to students' questions on various topics.
-
Technical Support: Integrate the OpenAI Assistant into your customer support system to provide instant responses and solutions to common queries.
Need Help?
- 💬Join BuildShip Community
An active and large community of no-code / low-code builders. Ask questions, share feedback, showcase your project and connect with other BuildShip enthusiasts.
- 🙋Hire a BuildShip Expert
Need personalized help to build your product fast? Browse and hire from a range of independent freelancers, agencies and builders - all well versed with BuildShip.
- 🛟Send a Support Request
Got a specific question on your workflows / project or want to report a bug? Send a us a request using the "Support" button directly from your BuildShip Dashboard.
- ⭐️Feature Request
Something missing in BuildShip for you? Share on the #FeatureRequest channel on Discord. Also browse and cast your votes on other feature requests.